
How to Replace a Light Switch in Dubai: Safe 2026 Guide
Learn how to replace a light switch in Dubai with our safe 2026 DIY guide. Follow our step by step instructions for a successful light switch installation.
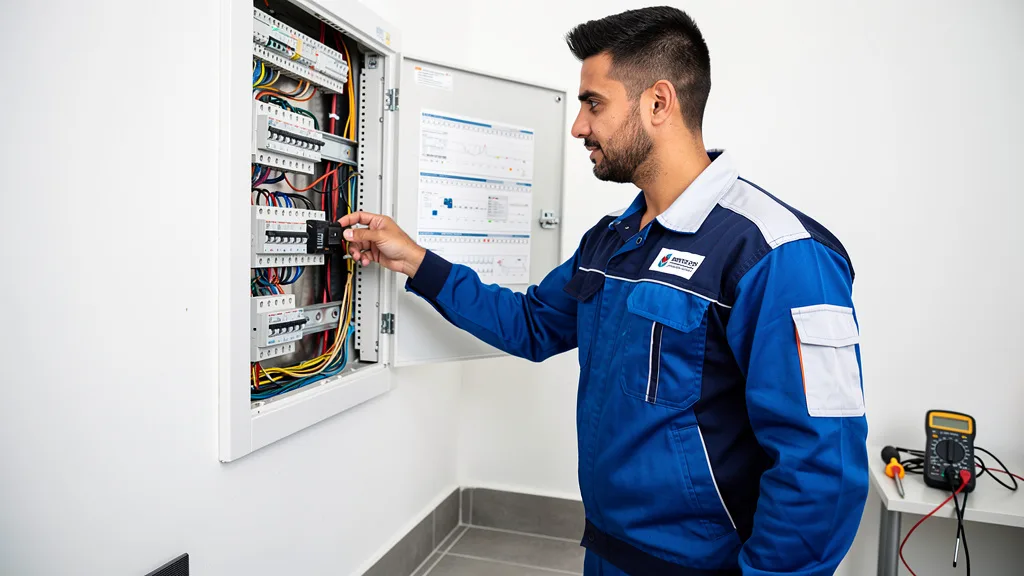
Is a flickering or broken light switch disrupting the peace in your Dubai home? Replacing a light switch is a common and manageable DIY project that can update your home's functionality and aesthetic. With a focus on safety and the right instructions, you can confidently tackle this task yourself.
Replacing a light switch in Dubai is a straightforward task for a competent DIYer, provided you strictly follow safety procedures. The most critical step is to completely shut off power to the relevant circuit from your main electrical panel before starting any work. Using a voltage tester to confirm the power is off is non-negotiable. With the correct tools and a step-by-step approach, you can safely install a new standard, dimmer, or smart switch in under an hour.
Safety First: Regulations and Precautions for Electrical Work in Dubai
Before you even touch a screwdriver, understanding the safety protocols for electrical work in Dubai is paramount. While minor tasks like changing a switch are often handled by homeowners, all electrical installations must align with the standards set by the Dubai Electricity and Water Authority (DEWA). The golden rule is always to de-energize the circuit you are working on. This means locating your main electrical panel and flipping the correct circuit breaker to the 'OFF' position. Never assume a switch being off is enough.
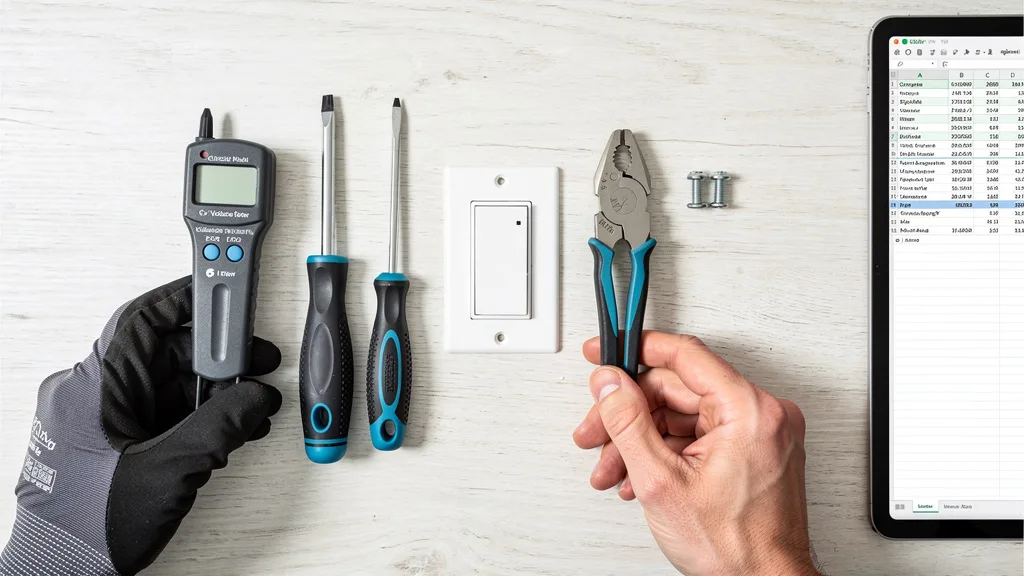
After turning off the breaker, you must verify that there is no electrical current at the switch. This is done using a non-contact voltage tester, a small and inexpensive tool that will light up or beep if it detects a live current. Test the wires inside the electrical box before you touch them. Additionally, using tools with insulated handles provides an extra layer of protection. If you encounter anything unexpected, such as crumbling wire insulation, signs of scorching, or complex wiring you don't recognize, stop immediately. These are clear signs that you should consult a professional.
Working with electricity is not the time for guesswork. Our certified technicians always say, 'Test for dead before you touch.' This simple step prevents the vast majority of electrical accidents during home repairs. Taking 30 seconds to verify with a voltage tester is the most important part of the entire process.
Essential Tools and Materials for Light Switch Replacement
Gathering the right tools and materials beforehand makes the job smoother and safer. You don't need a professional's entire toolkit for this job, but a few specific items are essential for a successful switch installation. Having everything ready in one place prevents you from leaving a project with exposed wires unattended.
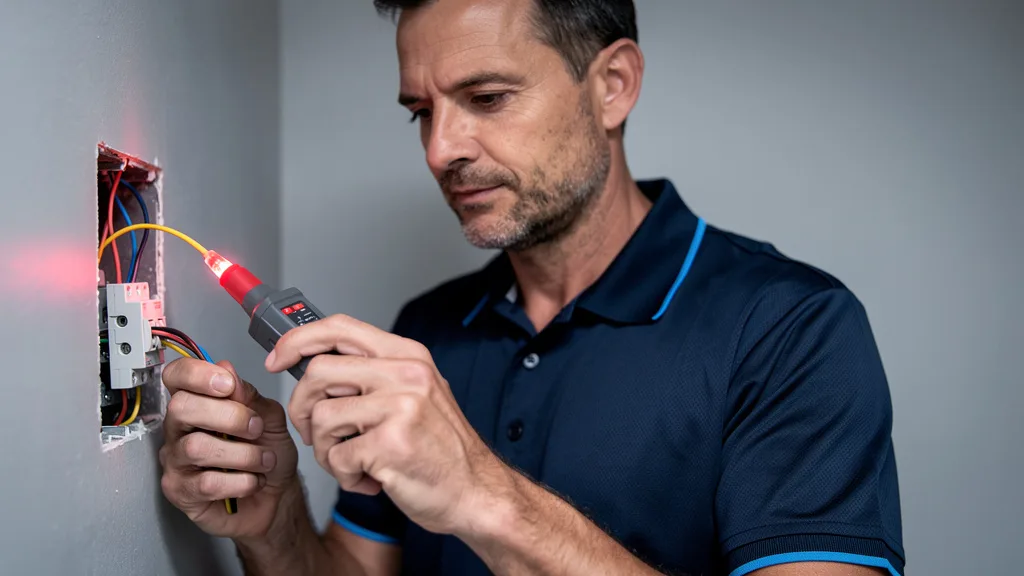
Most of the required items are common household tools, with the exception of the voltage tester, which is a crucial safety device you should not skip. Ensure your new switch and faceplate are compatible with your home's electrical box and aesthetic. For homes in Dubai, especially villas, we fit a wide range of styles from basic to high-end smart devices.
- Voltage Tester: A non-contact voltage tester is non-negotiable for confirming the power is off.
- Screwdrivers: You will need both a Phillips head and a flathead screwdriver.
- Needle-Nose Pliers: Useful for bending and looping wires.
- Wire Strippers: To strip insulation from wires if needed.
- New Light Switch: The replacement switch of your choice (standard, dimmer, or smart).
- New Faceplate: A new cover to match your switch and decor.
How to Replace a Light Switch in 6 Safe Steps
With your power off and tools ready, you can now begin the physical replacement. Following these steps in order will guide you through a safe and successful light switch installation replacement. Work methodically and ensure each connection is secure before moving to the next step. This process is generally the same for most standard switches.
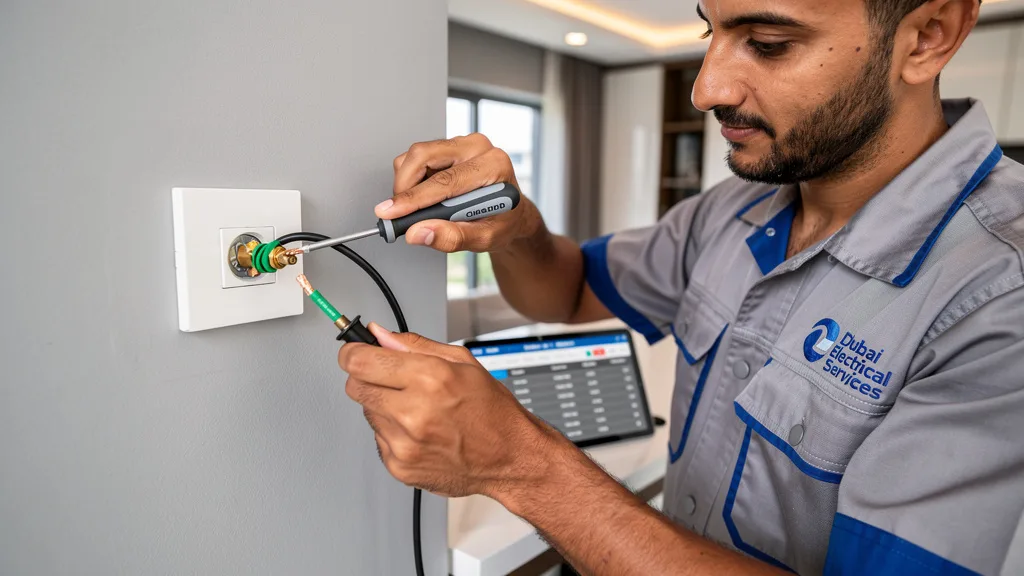
Remember, the key to a safe installation is a combination of preparation and careful execution. If you feel uncertain at any point, it is always better to pause and consult a guide or a professional. For more details on similar projects, you can review guides on How To Replace A Light switch for additional perspectives.
Step 1: Turn Off the Power at the Circuit Breaker
Locate your home's main electrical panel, often found in a utility closet, garage, or hallway. Identify the breaker that controls the circuit for the light switch you are replacing. Breakers are usually labeled, but if they are not, you may need to turn lights on in that room and flip breakers one by one until the correct one is found. Firmly switch the breaker to the 'OFF' position.
Once the breaker is off, it's a good practice to place a piece of tape over it with a note like "Do Not Turn On, Work in Progress." This prevents someone from accidentally restoring power while you are working. This is the single most important step for your safety.
Step 2: Remove the Old Switch Plate and Unscrew the Switch
Using your flathead or Phillips screwdriver, remove the small screws holding the switch's faceplate or cover to the wall. Set the faceplate and its screws aside. This will expose the switch itself, mounted in the electrical box with two longer screws at the top and bottom.
Carefully unscrew these mounting screws. Once they are removed, you can gently pull the entire switch assembly out from the wall box. Be careful not to yank it, as the wires are still attached. Pull it out just far enough to give you comfortable access to the screw terminals on the sides.
Step 3: Identify and Disconnect the Old Wiring
Before disconnecting any wires, take a moment to observe how they are connected. You can even take a quick photo with your phone for reference. On a simple single-pole switch, you will typically see two black (or colored) wires connected to the side screw terminals and a green or bare copper wire connected to a green screw. The black wires are the 'hot' wires, and the copper/green is the ground wire.
Use your voltage tester one last time to touch each screw terminal and confirm there is no power. Once confirmed, use your screwdriver to loosen the terminal screws and unhook each wire. If the wires are pushed into holes in the back of the switch, you may need to insert a small screwdriver into the release slot next to the wire to free it.
Step 4: Connect the Wires to Your New Light Switch
Now it's time to connect your new switch. Using your reference photo if needed, you will replicate the wiring on the new device. Most standard switches have screw terminals on the sides. Use your needle-nose pliers to create a small hook at the end of each insulated wire.
Connect the ground wire (bare copper or green) to the green screw terminal first. Then, connect the two hot wires (usually black) to the two brass or gold-colored screw terminals. For a single-pole switch, it does not matter which hot wire goes to which brass screw. Ensure you wrap the wire hook clockwise around the screw so that tightening the screw also tightens the wire loop. Make sure no bare wire is exposed beyond the screw head.
Step 5: Secure the New Switch and Attach the Faceplate
With the wires securely attached, gently fold and push the wires back into the electrical box. Position the new switch so that its mounting holes align with the screw holes in the box. Insert and tighten the top and bottom mounting screws until the switch is snug and flush against the box.
Do not overtighten, as this can crack the switch's housing. Once the switch is secure, place the new faceplate over it and fasten it with the provided screws. Ensure the faceplate is straight and sits flush against the wall for a clean, professional look.
Step 6: Restore Power and Test Your New Switch
The final step is to see your work in action. Go back to the electrical panel and flip the circuit breaker back to the 'ON' position. Return to the switch and test it by turning the light on and off several times.
If the switch works correctly, congratulations, you have successfully completed the replacement. If it does not work, immediately turn the power back off at the breaker and double-check your wiring connections. If you are still unable to resolve the issue, it is time to call a professional electrician.
Choosing Your New Switch: Standard, Dimmer, and Smart Options
Replacing a faulty switch is also a perfect opportunity to upgrade your lighting control. Modern switches offer more than just on/off functionality. You can choose from standard single-pole switches, dimmer switches for adjustable ambiance, or smart switches that integrate into your connected home. The choice depends on your needs, budget, and the room's function.
Standard Single-Pole Switches
The standard single-pole switch is the most common type found in homes. It is a simple on/off toggle or rocker that controls a single light fixture (or a group of fixtures) from one location. They are reliable, affordable, and straightforward to install, making them the go-to choice for basic functionality in hallways, closets, and garages.
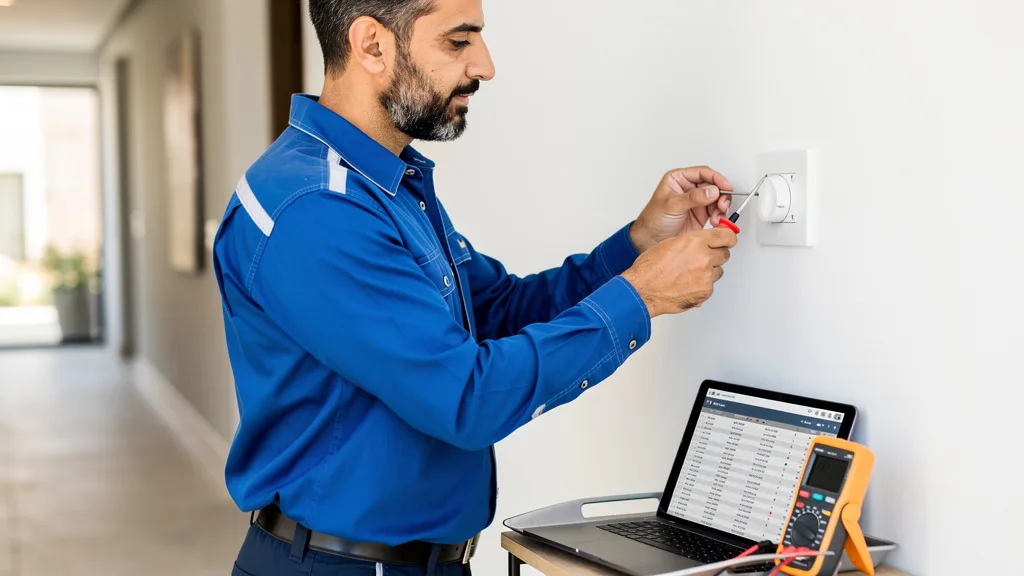
If you are simply replacing a broken switch with a like-for-like model, a standard switch is all you need. They come in various colors and styles, like toggle or the more modern Decora rocker style, allowing you to match your home's existing hardware. This is the most basic form of light switch installation.
Installing Dimmer Switches for Adjustable Lighting
A dimmer switch gives you the power to adjust the brightness of your lights, transforming the atmosphere of a room instantly. This is ideal for dining rooms, living rooms, and bedrooms where you might want bright light for tasks but soft, warm light for relaxing. Installing a dimmer is very similar to a standard switch.
When choosing a dimmer, you must ensure it is compatible with your light bulbs. For example, you need a specific type of dimmer for LED bulbs to prevent flickering or buzzing. Upgrading to standard dimmer smart switches can also offer a bridge between traditional and fully automated lighting control.
Upgrading to Smart Switches for Modern Homes
For the ultimate in convenience and technology, upgrading to smart switches is the way to go. A smart switch connects to your home's Wi-Fi network, allowing you to control your lights via a smartphone app, voice commands (with assistants like Alexa or Google Assistant), or automated schedules. This is a fantastic upgrade for any modern home or villa in Dubai.
Installation can be slightly more complex, as many smart switches require a neutral wire (usually a white wire) in the electrical box to power the switch itself. Before purchasing, it's wise to check your existing wiring. If you're comfortable with the basic switch replacement, installing a smart switch is a manageable next step into home automation. These devices provide convenience, enhance security through scheduled lighting, and can even help save energy.
When to Skip DIY and Call a Professional Electrician
While this guide covers a standard replacement, there are many situations where DIY is not the best option. Your safety is the top priority, and professional electricians are trained to handle complex and dangerous scenarios. Knowing when to step back and call for help is the mark of a smart homeowner. The decision between DIY vs professional maintenance often comes down to safety and complexity.
If you open the switch box and find a confusing mess of wires, evidence of burning or melting, or aluminum wiring (common in some older properties), do not proceed. Other red flags include three-way or four-way switches that control a light from multiple locations, which have more complex wiring. If you are not 100% confident, or if the problem persists after your installation, it's time to book an expert. It is always better to be safe and ensure the job is done correctly by a certified professional, and it's important to know how to choose a licensed electrician in Dubai for your peace of mind.
Key Takeaways
Replacing a light switch can be a rewarding DIY project. By following this guide, you can safely update your home's lighting controls. Here are the most important points to remember for a successful replacement.
- Safety is Paramount: Always turn off the power at the circuit breaker and verify with a voltage tester before beginning work. This is the most critical step.
- Use the Right Tools: Having essential tools like a voltage tester, screwdrivers, and pliers makes the job safer and easier.
- Understand Your Switch: Choose the right type of switch for your needs, whether it's a standard, dimmer, or smart switch, and ensure it's compatible with your wiring and bulbs.
- Follow the Steps: Work methodically from disconnecting the old switch to connecting and securing the new one. Take a photo of the original wiring for reference.
- Know Your Limits: If you encounter complex wiring, signs of damage, or feel unsure at any point, do not hesitate to call a professional electrician for assistance.
Frequently Asked Questions
Can I legally change a light switch myself in Dubai?
For minor electrical work like replacing a single light switch in your own home, it is generally permissible for a competent individual to perform the task. The key is 'competent', meaning you understand the risks and safety procedures, especially shutting off the power correctly. You must follow DEWA's underlying safety standards.
What is the difference between a single-pole and a three-way switch?
However, for more complex jobs, any new wiring, or if you are a tenant or landlord, regulations often require that a certified electrician performs the work. If you have any doubt about your ability to complete the job safely, it is always best to hire a professional.
How much does it cost to have an electrician replace a light switch?
A single-pole switch is the most common type and controls a light fixture from a single location. It has two brass-colored screw terminals and a ground screw and functions with a simple on/off mechanism. This is what you'll find in most bedrooms, closets, and smaller rooms.
Do I need special tools to install a smart switch?
A three-way switch is used to control a single light fixture from two different locations, such as at the top and bottom of a staircase or at both ends of a long hallway. These switches have three terminal screws (plus a ground screw) and are more complex to wire. Replacing a three-way switch requires careful labeling of the 'common' wire.
What should I do if the new switch does not work after installation?
The cost for a professional electrician to replace a light switch in Dubai is generally very affordable. Our services start from a transparent upfront price of AED 180 for a basic call-out, which often covers simple tasks like a switch replacement. The final price can depend on the type of switch being installed (e.g., a more complex smart switch) and if any other issues are discovered.
For a precise quote and to see our full range of services, you can view our transparent rate card. This ensures you know the cost before we begin any work, with no hidden fees. All our labor is also backed by a 30-day warranty for your peace of mind.
For the most part, you will use the same basic tools required for a standard switch replacement: a voltage tester, screwdrivers, and pliers. However, the most important special requirement for many smart switches is the presence of a neutral wire in your switch box. This wire is typically white and is necessary to provide continuous power to the switch's Wi-Fi radio and internal electronics.
Before buying a smart switch, it is essential to turn off the power, open your switch box, and check for this neutral wire (often capped off at the back of the box). If you don't have one, you'll either need to buy a specific type of 'no-neutral-required' smart switch or have an electrician run a new wire, which is a more involved job.
If your new switch doesn't work, the first step is to immediately go back to your electrical panel and turn the circuit breaker off again. Safety must come first. Once the power is off, remove the faceplate and switch to re-examine your work. The most common issues are loose wire connections or incorrect wiring.
Double-check that each wire is securely fastened to the correct terminal screw. Ensure the wire insulation was not stripped back too far, which could cause a short. If you took a photo of the old wiring, compare it to your new setup. If everything looks correct and it still doesn't work, the switch itself could be faulty, or there might be an underlying issue in the circuit. At this point, it is safest to call a professional electrician to diagnose and solve the problem.
Conclusion
Replacing a light switch is a great entry point into DIY home maintenance that can save you time and money while modernizing your space. By prioritizing safety, using the correct tools, and following a clear, step-by-step process, you can confidently handle this task. Whether you're installing a simple replacement or upgrading to a dimmer or smart switch, this guide provides the foundation for a successful and safe how to replace a light switch in Dubai: safe DIY steps project for 2026. Remember to assess the situation, and if you encounter any complexity or uncertainty, know that professional help is just a call away.
If you've reviewed the steps and feel the job is better left to the experts, or if you've run into an unexpected issue, our certified electricians are ready to help. We provide fast, reliable, and transparently priced electrical services across Dubai. Book a Service Now to have a qualified technician handle all your electrical needs with guaranteed results.
Need certified on-demand property maintenance in Dubai?
Sub-4 hour response SLA • 30-day labor warranty • Upfront pricing from AED 180.