
How to Hang a Picture in Dubai: Wall Mounting Tips
Learn how to hang a picture in Dubai with our expert wall mounting tips. Discover how to handle concrete or gypsum walls and place art perfectly in your UAE.
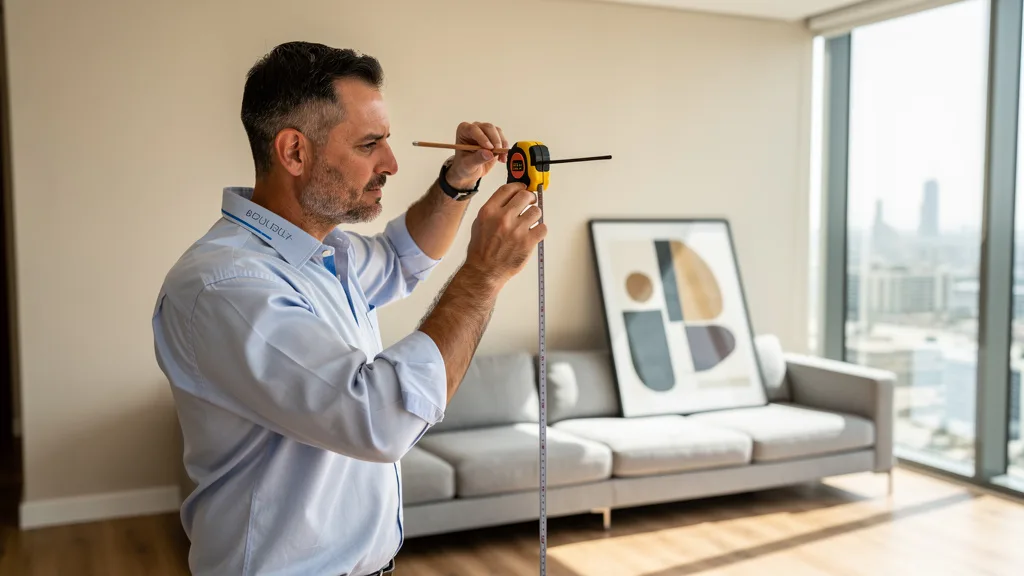
Are you staring at a blank wall in your Dubai home, wondering how to transform it without causing damage or frustration? Hanging artwork seems simple, but in a city with predominantly concrete walls, a little planning goes a long way. The key to successfully hanging a picture in a Dubai apartment or villa is to first identify your wall type, select the correct hardware for secure mounting, and follow established design principles for placement. This ensures your art is not only safe but also enhances your living space beautifully.
This guide provides all the essential wall mounting tips you need. From measuring your space and understanding weight limits to choosing the right fixings for concrete or gypsum, we'll walk you through the process step by step. You'll learn the professional secrets to achieving perfect height and spacing, whether you're hanging a single statement piece or creating an entire gallery wall.
Planning and Preparation Before You Hang
Before you even pick up a hammer or drill, a few moments of preparation can save you from misplaced holes and crooked frames. Proper planning is the foundation of a successful art installation. It involves taking precise measurements and understanding the physical characteristics of the artwork you intend to hang.
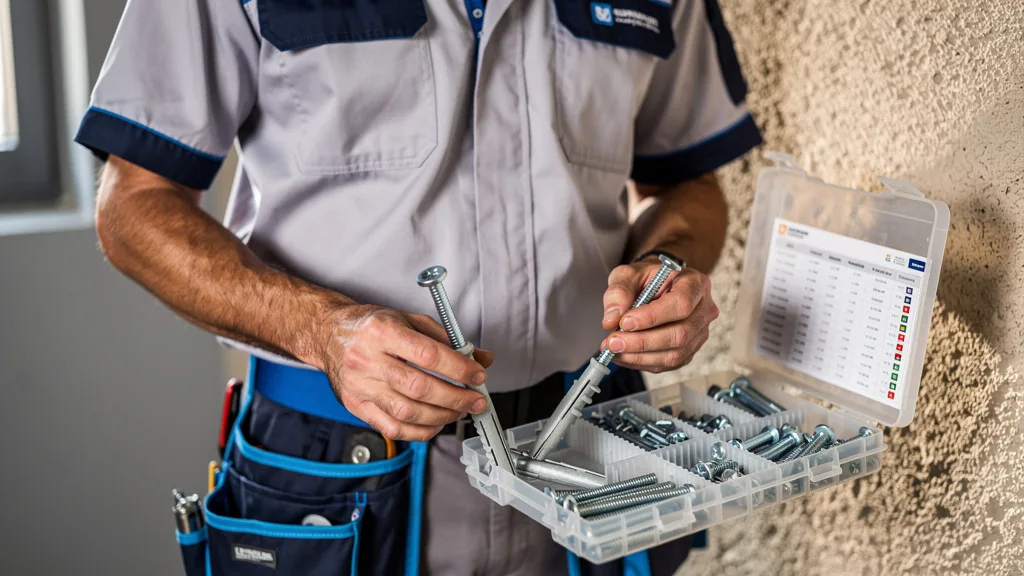
This initial phase ensures you have a clear vision for where the art will go and confirms you have the right approach for its specific size and weight. Don't skip this step, as it's the difference between a professional-looking display and a frustrating DIY project.
Measuring Your Artwork and Wall Space
First, measure the artwork itself, including the frame. Note the height and width of the finished frame. Then, measure the wall space where you plan to hang it. Identify the horizontal center of the wall or the piece of furniture it will hang above. This gives you a clear reference point.
When measuring your art, also locate the hanging point on the back. Measure the distance from the top of the frame to the wire (when pulled taut) or the hook bracket. This measurement, known as the drop, is crucial for marking the exact spot on the wall where your nail or screw will go.
Considering the Finished Size and Weight
The total weight of the complete piece, including a glass or glazed frame, will determine the type of hanging hardware you need. A lightweight stretched canvas will require a much simpler fixing than a large, heavy mirror with an ornate frame. Always try to overestimate the weight to be safe.
As a general rule, anything over 5 kg should be considered heavy and may require a more robust wall anchor, especially on gypsum walls. For very heavy items (over 15 kg), it's wise to consult a professional handyman to ensure a safe and secure installation.
Identifying Your Wall Type in a UAE Apartment
One of the most critical steps for hanging anything in a UAE home is identifying your wall material. Unlike homes in other parts of the world that primarily use drywall over wood studs, properties in Dubai often feature solid concrete or blockwork, which requires a different approach and tools.
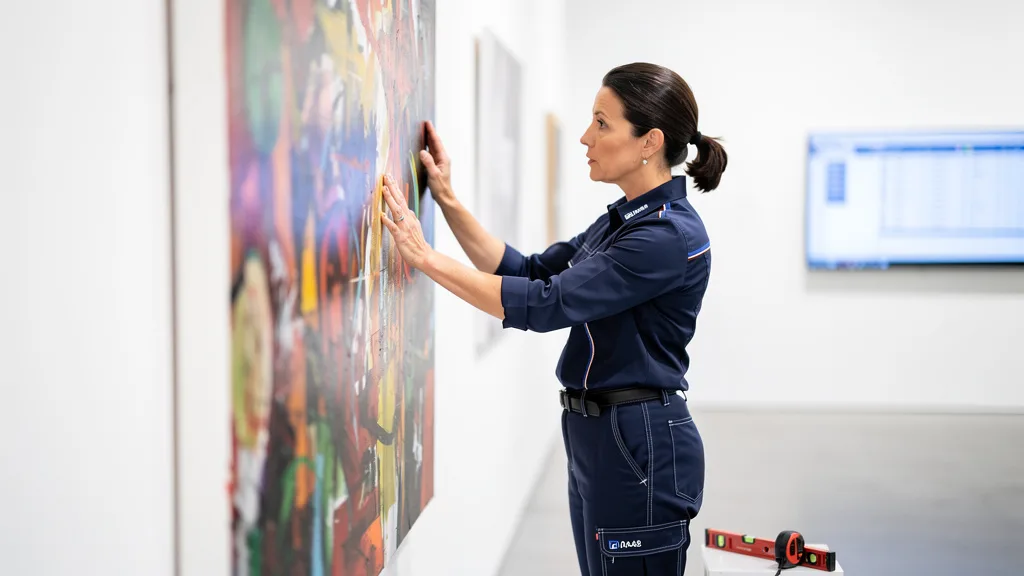
Using the wrong fixing for your wall type is the most common reason for pictures falling or damaging the wall surface. Taking a moment to determine what's behind the paint will ensure your artwork stays securely where you put it.
Is It Concrete, Block, or Gypsum?
The easiest way to determine your wall type is the knock test. Gently knock on the wall with your knuckle. A solid, low-thud sound with no echo indicates a concrete block wall. This is the most common type for both external and internal walls in Dubai apartments and villas.
If you hear a hollow sound, you likely have a gypsum board (drywall) partition. These are often used for non-structural internal walls. If you're unsure, try drilling a small, inconspicuous test hole. Concrete will provide significant resistance and produce a fine, grey powder, while gypsum will be much easier to drill through and create a white, chalky dust.
Choosing the Right Fixings for Secure Mounting
Once you know your wall type, you can choose the correct fixings. Using the right anchor is not just a suggestion, it's a matter of safety. For the common concrete and block walls found in Dubai, a plastic wall plug (or anchor) and screw combination is the standard and most reliable method.
For hollow gypsum walls, you need special fixings that expand behind the board to grip it securely. Never use a simple nail or screw in a gypsum wall for anything heavier than a small, unframed photo, as it will easily pull out. The right choice ensures secure mounting for years to come.
| Wall Type | Description | Recommended Fixing | Best For |
|---|---|---|---|
| Concrete / Block | Solid, hard surface. Common in most Dubai properties. | Plastic Wall Plugs (Anchors) with Screws | Light to heavy items (mirrors, large frames) |
| Gypsum Board | Hollow wall, sometimes with metal studs. | Self-Drilling Metal Anchors or Expanding Anchors | Light to medium-weight items (gallery walls, medium frames) |
| Any (Damage-Free) | For renters or temporary displays. | Adhesive Strips (e.g., Command Strips) | Lightweight items (unframed prints, small canvases) |
Placement Rules: How High to Hang Wall Art
Where you place your art is just as important as how you hang it. Proper placement connects the artwork to the room and its furnishings, creating a cohesive and visually pleasing environment. Fortunately, interior designers follow a few simple, time-tested rules that you can easily apply in your own home.
These guidelines are not rigid laws but are excellent starting points to ensure your art looks intentional and well-integrated. Following them will help you avoid the common mistake of hanging art too high or choosing a piece that's the wrong scale for the wall.
The Eye-Level Guideline for Single Artwork
The most fundamental rule for hanging a single artwork is to position it at eye level. The center of the picture should be approximately 145 to 152 cm (57 to 60 inches) from the floor. This is the average human eye level and is the standard used in galleries and museums.
This guideline ensures the art is the focus and can be viewed comfortably without straining your neck. If your family members have significantly different heights, use the eye level of the person who will be in the room most often as your guide. For hallways, always use the standing eye-level measurement.
The Two-Thirds Rule for Hanging Above Furniture
When hanging art above a piece of furniture like a sofa, headboard, or console table, the relationship between the two is key. The artwork should be visually connected to the furniture, not floating high above it. The bottom edge of the frame should be 15 to 20 cm (6 to 8 inches) above the top of the furniture.
Additionally, the width of the artwork (or a grouping of art) should be about two-thirds the width of the furniture below it. This creates a sense of balance and proportion. A tiny picture above a large sofa will look lost, while an oversized piece can feel overwhelming.
Should You Center a Picture on the Wall?
Whether to center a picture depends on the context of the room. Centering a large piece on a prominent, empty wall creates a powerful focal point and a sense of formal balance. This is a classic and often foolproof approach. The spot where the centre sits becomes the anchor for the room's decor.
However, you don't always have to center your art. An asymmetrical or off-center placement can create a more dynamic and modern feel, especially when balancing other elements in the room, like a floor lamp or a tall plant. Consider the entire wall as your canvas and arrange elements for a pleasing overall composition.
Step-by-Step Guide to Hanging Your Picture
With your planning complete, you're ready to get hands-on. This step-by-step guide will walk you through the practical process of getting your picture from the floor onto the wall, securely and level. Having the right tools and a clear method will make the job quick and easy.
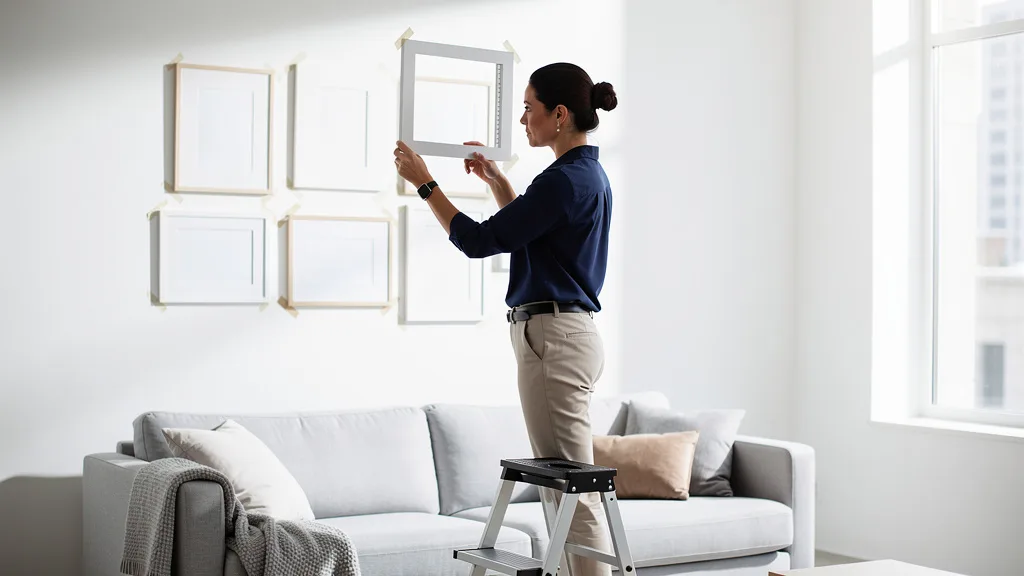
Follow these instructions carefully to ensure you make the right mark, drill a clean hole, and hang your art perfectly on the first try. A methodical approach prevents mistakes and the need for wall repairs later on. You can find more visual instructions in guides on How to Hang a Picture from home improvement experts.
Essential Tools and Materials for the Job
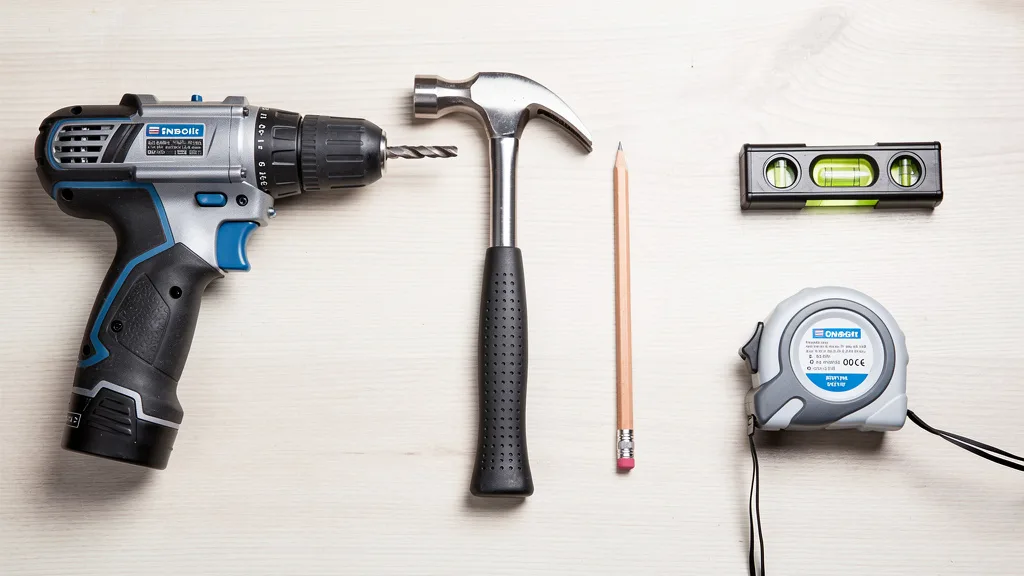
Having the right tools on hand is essential for a smooth process. Before you begin, gather everything you need so you don't have to stop midway through the project. A small investment in the right tools will pay off with a professional-quality result.
"The most important tip for how to hang a picture in Dubai is to use a proper drill with a masonry bit for concrete walls. It's not a job for a hammer and nail. Doing it right the first time prevents wall damage and ensures your art is secure."
- Power drill (a hammer drill function is best for concrete)
- Correct drill bit (masonry bit for concrete, standard bit for gypsum)
- Hammer
- Spirit level (or a level app on your phone)
- Tape measure
- Pencil for marking
- The correct wall anchors and screws for your wall type
- A vacuum cleaner or dustpan for cleanup
Marking Your Spot and Drilling Correctly
Using your measurements from the planning stage, lightly mark the wall with a pencil where the screw will go. Remember to account for the drop from the top of the frame to the hanging wire. Hold your level against the mark to ensure it's straight before you drill.
When drilling into concrete, start slow to create a guide for the hole start, then switch to a faster speed or the hammer function. Drill to a depth that matches the length of your wall plug. A piece of tape on the drill bit can serve as a handy depth gauge. Once drilled, gently tap the wall plug into the hole until it's flush with the wall, then drive the screw in, leaving it out just enough to hang your frame.
Is It Better to Use One or Two Hooks?
For most small and lightweight pictures, a single hook is sufficient. However, for wider, larger, or heavier frames, using two hooks is always the better option. Two hooks, placed several inches apart, provide greater stability and prevent the picture from shifting and becoming crooked over time.
If you use two hooks, it's absolutely critical that they are perfectly level with each other. Use your spirit level to draw a faint, level line between your two marks before drilling. This ensures your artwork will hang perfectly straight and remain stable.
How to Plan and Hang a Gallery Wall
A gallery wall is a fantastic way to display a collection of photos, prints, and personal mementos. However, arranging multiple frames can be intimidating. The key to a successful gallery wall is planning the entire layout before a single nail goes into the wall.
This pre-planning helps you create a balanced, cohesive composition that feels curated rather than cluttered. It allows you to experiment with different arrangements until you find the one that works best for your space and your collection.
Arranging Your Layout Before Making Any Holes
The best trick for planning a gallery wall is to trace each of your frames onto paper (kraft paper or old newspapers work well) and cut them out. Using painter's tape, you can then arrange these paper templates on your wall. This allows you to visualize the final layout, adjust spacing, and try different combinations without any commitment.
Live with the paper layout for a day or two to see how you feel about it at different times of the day. Once you're happy with the arrangement, you can mark the hook placement for each frame directly onto the paper templates, then drill through the paper into the wall for a perfect transfer.
Achieving Perfect Spacing Between Frames
Consistency is key for a polished gallery wall. Aim to keep the space between each frame uniform, typically between 5 and 8 cm (2 to 3 inches). This consistent gap creates a visual grid that ties the individual pieces together into one cohesive unit, even if the frames themselves are different sizes and styles.
You can use a small piece of wood or cardboard cut to your desired spacing width as a guide. Hold it between frames as you position your paper templates to ensure the gap is perfect every time. This simple step makes a huge difference in creating a professional-looking, balanced gallery.
Are Gallery Walls a Popular Trend in 2026?
Yes, gallery walls remain a very popular and timeless interior design trend in 2026. They have evolved from rigid, grid-like arrangements to more organic and personal collections. The modern approach focuses on mixing different frame styles, sizes, and even media, such as small canvases, mirrors, or textured objects alongside traditional prints.
The trend for 2026 is about telling a personal story. Instead of buying a pre-made set of prints, homeowners are curating collections that reflect their travels, family, and hobbies. A well-executed gallery wall is less of a fleeting trend and more of a permanent, evolving feature of a home.
Damage-Free Hanging Solutions for Renters
If you're renting your home in Dubai, you may be hesitant to drill holes in the walls. Many tenancy agreements have strict rules about making alterations, and you want to ensure you get your security deposit back. Thankfully, there are several effective damage-free solutions available.
These methods allow you to personalize your space and hang your favorite art without leaving a single mark behind. They are perfect for tenants, students, or anyone who likes to change their decor frequently without the hassle of filling and painting holes.
What Can You Use to Stick Pictures on a Wall?
The most popular damage-free solution is adhesive picture hanging strips, such as 3M Command Strips. These products consist of two interlocking strips that create a strong bond but can be removed cleanly by pulling a special tab. They come in various sizes designed to hold different weights, so it's crucial to check the packaging and use the correct type for your frame's weight.
For these strips to work effectively, you must follow the instructions precisely. The wall surface must be clean and dry, and you need to press firmly for the recommended time to ensure a strong bond. When used correctly, they are a fantastic way to hang lightweight to medium-weight art.
Using Picture Rails and Other No-Drill Options
Another excellent no-drill option is to use existing features in your home. Leaning larger pieces of art against the wall on a console table, a mantelpiece, or a floating shelf can create a stylish, layered look. This is a flexible approach that allows for easy rotation of your art.
Some older buildings or high-end modern apartments may have picture rails, which are mouldings installed near the ceiling specifically for hanging art. You can attach hooks and wires to the rail and hang your pictures without ever touching the wall itself. This is a classic and elegant solution that is making a comeback in interior design.
Common Hanging Mistakes and How to Avoid Them
Even with the best intentions, a few common mistakes can turn your picture-hanging project into a disappointment. Being aware of these pitfalls, especially those relevant to the Dubai climate, can help you avoid them and ensure your art looks great for years to come.
From environmental factors to technical errors, these small oversights can lead to crooked frames, damaged walls, or even ruined artwork. A little extra care and attention to detail will prevent these common issues.
Ignoring the Impact of Humidity and AC Vents
Dubai's climate presents unique challenges. High humidity and the constant use of air conditioning can affect your artwork. Never hang valuable prints or photographs directly in the path of an AC vent, as the constant flow of cold air can cause condensation and lead to moisture damage or mould growth on the paper or canvas.
Similarly, avoid hanging art in bathrooms without proper ventilation, as the steam can warp frames and damage the art. If your AC system is not performing well, it can contribute to higher indoor humidity. It's always a good idea to ensure your system is functioning correctly, which you can learn more about in guides comparing AC repair vs. service in Dubai.
Using the Wrong Anchors for Your Wall Type
We've mentioned it before, but it's the single biggest mistake and bears repeating: you must use the right anchor for your wall. Driving a nail into a concrete wall will only result in a bent nail and a chipped wall. Using a standard screw in a gypsum wall without a proper anchor will result in the picture falling.
This mistake can not only damage your artwork but also leave you with a significant hole to fix. If you do make a mistake and need to patch a hole, you can learn the proper techniques for interior wall repair in Dubai to make it look new again.
Hanging Artwork That Is Crooked or Unlevel
There's nothing more distracting than a crooked picture. This often happens when you rely on your eyes alone to judge if something is straight. Always use a spirit level. Place it on top of the frame after hanging to check it, and adjust as needed.
As mentioned earlier, using two hooks instead of one for larger frames is the best way to prevent them from shifting out of level over time. Taking a moment to double-check with a level is a simple step that ensures a professional and polished final look.
Key Takeaways
Hanging a picture in Dubai doesn't have to be difficult. By following a few key principles, you can display your art securely and beautifully. Here are the most important takeaways from this guide:
- Identify Your Wall: Use the knock test to determine if you have a solid concrete/block wall or a hollow gypsum wall. This is the most crucial step.
- Choose the Right Fixing: Match your hardware to your wall type. Use plastic wall plugs for concrete and expanding anchors for gypsum.
- Follow Placement Rules: Hang single artworks with the center at eye level (145-152 cm) and place art 15-20 cm above furniture.
- Plan Your Layout: For gallery walls, use paper templates to arrange your composition on the wall before drilling any holes.
- Use the Right Tools: A power drill, a level, and a tape measure are your best friends for a professional-looking result.
- Consider Professional Help: For very heavy items, valuable art, or complex installations, a professional handyman service provides peace of mind.
Frequently Asked Questions
How much weight can adhesive picture hangers typically hold?
The weight capacity of adhesive hangers varies significantly by brand and product type. For example, 3M Command Strips offer different sizes that can hold weights ranging from 500g up to 7.2kg. It is absolutely essential to read the packaging to confirm the weight limit for the specific strips you are using.
Always use more strips or a stronger variety than you think you need, and never use them for heavy, valuable, or glass-fronted frames. They are best suited for lightweight canvases, posters, and small, unframed photos.
When should I hire a professional for picture hanging?
You should consider hiring a professional handyman for several reasons. If you need to hang a very heavy or oversized item like a large mirror, if the artwork is particularly valuable or irreplaceable, or if you're planning a complex, large-scale gallery wall, a professional has the right tools and experience.
Additionally, if you are not confident in your ability to identify wall types or drill into concrete, a professional can complete the job quickly and safely. For these situations, you can easily Book a Service Now with our certified technicians.
How long should I wait to hang art on a freshly painted wall?
It's important to let fresh paint cure completely, not just dry to the touch. While most latex paints feel dry within a few hours, the curing process, where the paint hardens fully, can take much longer. As a general rule, you should wait at least 24 to 48 hours.
However, for best results, check the paint can for the manufacturer's specific recommendation on curing time, which can sometimes be up to 7 days or more. Hanging items or applying adhesive strips too soon can cause the paint to peel off when the item is removed.
What is the best way to hang a very heavy mirror or frame?
For a very heavy mirror or frame (over 15 kg), safety is paramount. On a concrete wall, use heavy-duty sleeve anchors or multiple large wall plugs and screws. On a gypsum wall, you must locate the internal studs (wood or metal) and drill directly into them. Never hang a heavy item on hollow gypsum board alone.
A French cleat system is one of the best and most secure methods for heavy items. This involves two interlocking, bevelled pieces of wood or metal, one on the wall and one on the frame, which distribute the weight evenly. When dealing with heavy items, ensuring your home's infrastructure is sound is key; similar to how you would want to choose a licensed electrician in Dubai for electrical work, professionalism matters for structural safety.
Can I reuse a drill hole to hang a new picture?
Yes, you can often reuse an existing drill hole, provided the old wall plug is still secure and the screw for your new picture fits snugly. If the old plug is loose or the hole has widened, you should remove it. You can then either use a larger plug that fits the hole tightly or fill the old hole with spackle, let it dry, and then drill a fresh hole.
Never hang a picture in a loose or compromised hole, as it will not be secure. A firm, tight fit between the plug, screw, and wall is essential for a safe installation.
Conclusion
Hanging a picture in your Dubai home is a rewarding project that can instantly elevate your space. By following the tips outlined here, from identifying your concrete or gypsum walls to using the correct fixings and placement rules, you can achieve a professional and secure result. Remember to plan first, measure twice, and always prioritize safety, especially with heavy or valuable pieces.
If you're dealing with very heavy mirrors, creating a complex gallery wall, or simply prefer to have an expert handle the job, our team is here to help. Our certified technicians have the experience and tools to hang any item on any wall type, ensuring a perfect and secure installation every time. Book a Service Now for fast and reliable handyman services across Dubai.
Need certified on-demand property maintenance in Dubai?
Sub-4 hour response SLA • 30-day labor warranty • Upfront pricing from AED 180.