
How to Fix a Leaking Tap in Dubai: A Step by Step Guide
Learn how to fix a leaking tap in Dubai with our step by step handyman's guide. Discover common causes, necessary tools, and when to call a pro.
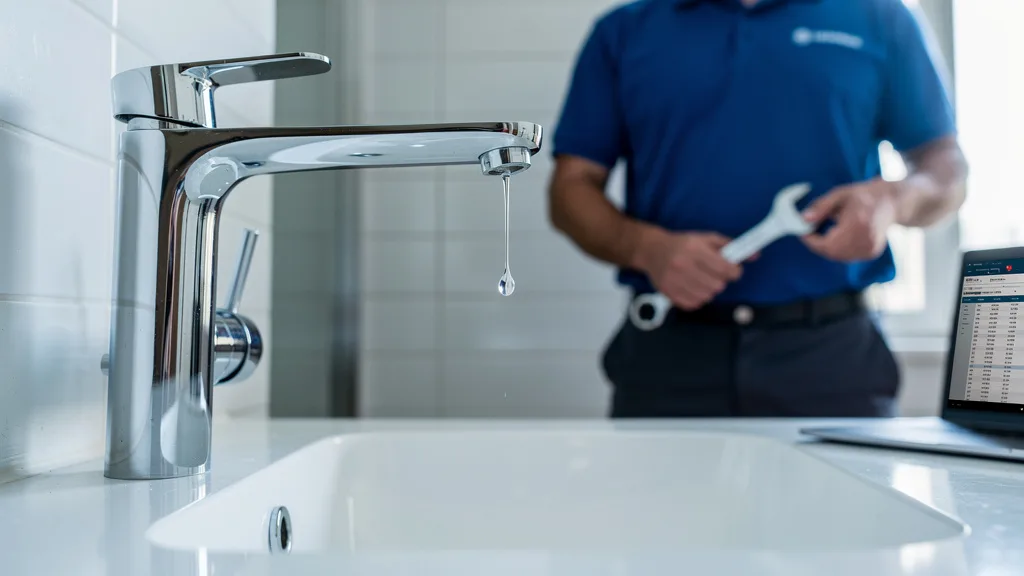
Common Causes of a Dripping Tap in Dubai
Understanding the root cause of a dripping tap is the first step toward a successful repair. In Dubai's unique environment, a few specific issues are the usual suspects behind that frustrating leak. From component wear accelerated by the climate to issues with municipal water delivery, uncovering the source of the problem is key.
While a simple worn washer is often the culprit, sometimes the issue is more complex. The high mineral content in the region's water can also contribute to the premature breakdown of internal tap components. Identifying the correct cause ensures you replace the right part and achieve a lasting fix.
Worn-Out Washers and O-Rings
The most frequent cause of a dripping tap is a worn-out washer. This small rubber or silicone disc is pressed against the valve seat every time you turn the tap on, creating a watertight seal. Over time, the constant friction and pressure cause it to harden, crack, or wear down, allowing water to seep through even when the tap is off.
Similarly, an O-ring, a small rubber ring located at the base of the spout on many mixer taps, can also fail. If your tap is leaking from around the base of the spout itself, a faulty O-ring is the likely problem. The hot dry climate in Dubai can sometimes accelerate the degradation of these rubber components, making them a common part to replace.
Corrosion of the Valve Seat
The valve seat is the metal part inside the faucet body that the washer presses against. Over time, the constant flow of water, especially water with a high mineral content, can cause this seat to corrode or accumulate limescale. This creates an uneven surface that the washer can no longer seal properly, resulting in a persistent drip.
If you've already tried a washer replacement and the tap is still leaking, a corroded valve seat could be the issue. Cleaning the valve seat with a cloth might solve minor buildup, but significant corrosion often requires a special tool called a valve seat grinder to resurface it or, in some cases, a full tap replacement by a professional plumber. An expert guide can provide additional context on these complex issues.
Issues from High Water Pressure
Excessively high water pressure is another surprising root cause of dripping taps, particularly in the high-rise buildings of Dubai. While strong pressure is great for a shower, it puts constant strain on your plumbing system's components, including the delicate seals and washers inside your taps. This sustained stress can cause them to fail prematurely.
If you notice that taps are leaking throughout your home, or if you also hear a banging noise (water hammer) when you turn off faucets quickly, high water pressure might be the problem. Addressing this often involves installing a pressure-reducing valve at your water main, a job best left to a certified plumber to ensure it's done safely and correctly.
What Tools Do You Need to Fix a Leaking Tap?
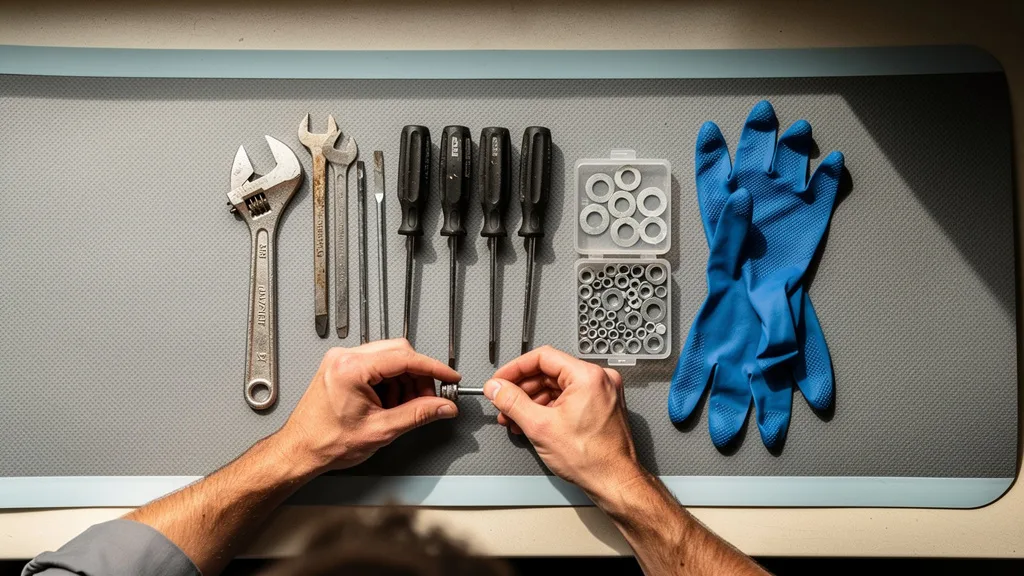
Before you start disassembling your faucet, gathering the right tools will make the job much smoother and prevent accidental damage. Most common tap repairs don't require expensive, specialized equipment. You likely have many of these items in a basic home toolkit already.
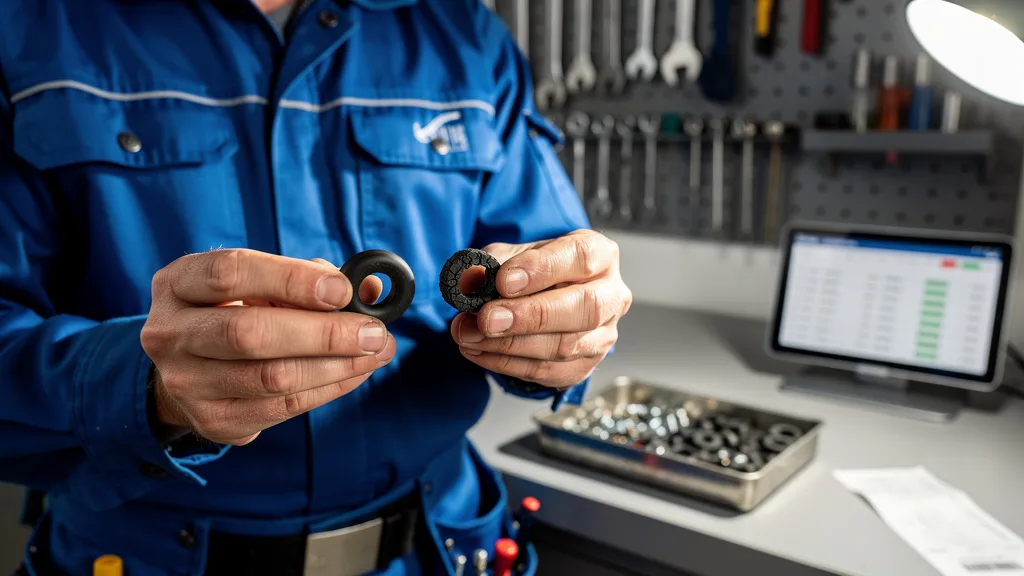
Having everything ready before you shut off the water will minimize downtime and stress. Here is a list of tools and materials you'll typically need for the job:
- Adjustable Wrench: For loosening and tightening nuts on the faucet body.
- Screwdriver Set: Both flat-head and Phillips-head screwdrivers are often needed to remove handle screws.
- Allen Keys (Hex Keys): Many modern taps use a small grub screw, often hidden, to secure the handle.
- Pliers: A pair of slip-joint pliers can be useful for gripping parts.
- Replacement Parts: New washers, O-rings, or a ceramic disc cartridge, depending on your tap type. It's wise to buy a variety pack of washers to ensure you have the right size.
- Soft Cloths: One to place in the sink to catch small parts and another to wrap around the tap to prevent scratching from your wrench.
- Vinegar or Limescale Remover: For cleaning corroded or scaled-up components.
How to Fix a Dripping Tap: A Step-by-Step Guide
With your tools and replacement parts at the ready, you can now begin the repair. This step-by-step process breaks down how to fix a leaking tap in Dubai: a handyman's step by guide into manageable actions. Work slowly and methodically, and remember to place a cloth in the sink to avoid losing any small screws down the drain.
Step 1: Turn Off the Water Supply
This is the most critical first step. Before you do anything to the tap, you must shut off the water leading to it. Look for the isolation valve, which is usually a small handle or screw-head valve on the pipes directly underneath the sink. Turn it clockwise until it stops. There will be one for hot and one for cold; turn both off.
If you can't find an isolation valve, you will need to turn off the main water supply to your apartment or villa. This is often located in a utility cupboard, bathroom, or outside your property. Once you've turned the valve, open the leaking tap to drain any remaining water from the pipe before you start work.
Step 2: Disassemble the Faucet Carefully
First, plug the sink drain to prevent small parts from getting lost. Next, carefully pry off the decorative cap on the tap handle (it might be marked 'H' or 'C'). This will expose a screw. Use the appropriate screwdriver or Allen key to remove this screw, and then lift the handle off the tap body.
Once the handle is off, you'll see the valve mechanism. Using your adjustable wrench, carefully unscrew the valve bonnet or packing nut. It's a good idea to wrap a cloth around the metal to prevent scratching the chrome finish. Once loosened, you can unscrew it by hand and lift out the entire valve stem or cartridge.
Step 3: Identify and Replace the Faulty Part
With the valve stem removed, you can inspect the components. For traditional compression taps, you will see a small rubber washer at the bottom, usually held in place by a screw. This is the most likely culprit. Unscrew it and replace it with an identical new one. You should also check the O-ring around the valve body and replace it if it looks worn or cracked.
If you have a more modern ceramic disc or cartridge tap, you will see a single cartridge unit instead of a washer. If this is the cause of the leak, the entire cartridge usually needs to be replaced. Take the old cartridge with you to a hardware store to ensure you buy the correct replacement, as there are many different sizes and types. For more detailed instructions, you can follow this expert guide on tap repairs.
Step 4: Reassemble and Test Your Repair
Once you've replaced the faulty component, it's time to put everything back together. Reassemble the tap in the reverse order you took it apart. Insert the new valve stem or cartridge, hand-tighten the valve bonnet, and then give it a final snug turn with the wrench. Don't overtighten, as this can damage the new parts.
Place the handle back on and secure it with its screw, then replace the decorative cap. Now for the moment of truth. Slowly turn the water supply back on at the isolation valve or main stopcock. Check for any leaks around the handle and spout. Finally, turn the tap on and off a few times to ensure it operates smoothly and, most importantly, doesn't drip when closed.
DIY Repair vs. Calling a Professional Handyman
Deciding whether to fix a leaking tap yourself or call a professional often comes down to your confidence, time, and the complexity of the issue. A simple washer replacement is a great DIY task for a beginner, but more complicated problems can quickly become overwhelming and may even cause more damage if not handled correctly. For a clear overview, consider the differences between a DIY approach and hiring one of our certified technicians.
"We've fixed thousands of dripping taps across Dubai communities. While a simple washer replacement is straightforward, we often find underlying issues like valve seat corrosion or high water pressure that a DIY fix won't solve. A professional can diagnose the true problem and ensure a long-lasting repair, saving you time and preventing future water damage."
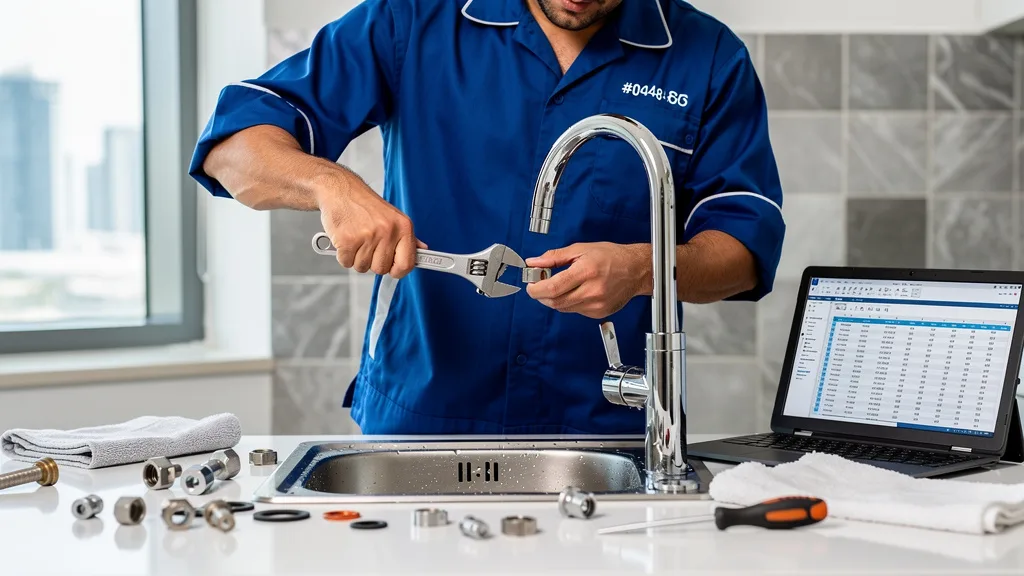
Understanding what's covered in a standard handyman call-out can help you make an informed choice. Our team arrives with all the necessary tools and a wide range of spare parts, ensuring the job is completed efficiently in a single visit.
| Factor | DIY Repair | Professional Handyman |
|---|---|---|
| Cost | Low (cost of parts only, AED 5-50) | Higher (call-out fee + parts, from AED 180) |
| Time | Variable (can take hours, including trips to the store) | Fast (typically under 1 hour) |
| Tools & Parts | You must source all tools and the correct parts. | Technician arrives fully equipped. |
| Expertise | Relies on your own skill and online guides. | Certified and experienced technicians. |
| Warranty | None. If it leaks again, you have to redo it. | Guaranteed work (we offer a 30-day warranty). |
Estimating the Cost to Fix a Leaking Tap in 2026
Budgeting for home repairs is important for every homeowner and tenant in Dubai. The cost to fix a leaking tap in 2026 can vary depending on whether you do it yourself or hire a professional. A DIY repair is the most budget-friendly option, typically costing only the price of the replacement parts, which can be as low as AED 5 to AED 50 for common washers or O-rings.
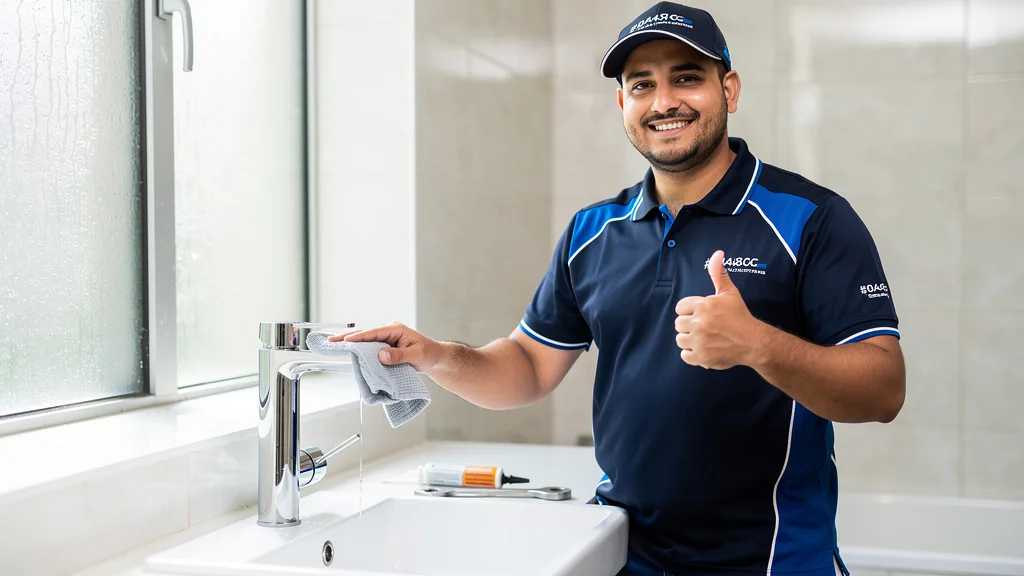
If you choose to hire a professional handyman, you can expect a transparent, upfront cost. At Property Maintenance UAE, our standard call-out fee for minor plumbing repairs like a dripping tap starts from just AED 180. This price includes the labor for diagnosis and repair. The final cost may be slightly higher if a more expensive part, like a full tap cartridge or a new faucet, is required. Our technicians will always provide a clear quote before starting any additional work, ensuring there are no surprises. You can review our full home maintenance pricing guide for more details.
Key Takeaways
Fixing a leaking tap can be a rewarding DIY project or a quick job for a professional. Whether you're in a villa in Mirdif or an apartment in Dubai Marina, the principles are the same. Here are the most important points to remember from this guide:
- Identify the Cause: The most common culprits are worn washers, O-rings, and corroded valve seats. High water pressure can also be a factor in Dubai.
- Safety First: Always turn off the water supply completely before starting any work on your faucet to prevent flooding.
- Use the Right Tools: Having an adjustable wrench, screwdrivers, and soft cloths on hand will prevent damage to your fixtures.
- Know Your Tap Type: Traditional compression taps use washers, while modern taps often have a single cartridge that needs to be replaced as a whole unit.
- Don't Overtighten: When reassembling the tap, tighten components until they are snug, but avoid using excessive force, which can damage the new seals.
- When to Call a Pro: If you're unsure, the leak persists after your repair, or the issue seems complex (like a corroded valve seat), it's best to call a professional handyman.
Frequently Asked Questions
How do you tighten a tap to stop it from dripping?
Tightening a tap handle will not stop a drip that occurs when the tap is off. That drip is caused by a failed internal seal, like a washer. However, if you have a leak from around the handle or the base of the tap body itself, you may be able to fix it by tightening a component. First, turn off the water supply.
For a leak at the handle, you may need to tighten the packing nut located just underneath the handle. You'll need to remove the handle to access it. A gentle turn with an adjustable wrench might be enough to compress the packing and stop the leak. If the tap is loose at the base where it meets the sink, you'll need to tighten the mounting nuts underneath the sink, which can be a more difficult job requiring a basin wrench.
Why is my tap still leaking after I replaced the washer?
This is a common and frustrating problem. If you've correctly replaced the washer and the tap still drips, there are a few likely reasons. The most common is that the valve seat, the metal rim the washer presses against, is corroded, pitted, or covered in limescale. This creates an uneven surface that the new washer can't seal properly.
Another possibility is that you used the wrong size or type of washer. Washers come in many different sizes and thicknesses. Finally, in some cases, the tap body itself may have a hairline crack that is not easily visible. If cleaning the valve seat doesn't solve the problem, it's a good time to call a professional to diagnose the issue accurately.
What are the risks of ignoring a minor water leakage?
Ignoring even a minor water leakage can lead to several larger problems. First is the financial cost; a tap dripping once per second can waste over 10,000 liters of water a year, leading to a significant increase in your DEWA bill. Second, the constant moisture can cause damage to your property. It can stain your sink, rot the cabinet underneath, and create a damp environment perfect for mold and mildew growth, which can be a health hazard.
Over time, the small leak can also worsen, potentially leading to a much larger failure and water damage. The constant dripping also puts continuous wear on the tap's internal components, which may turn a simple washer replacement into a full tap replacement. Addressing these issues early is crucial, and it's important to know the signs you need an emergency plumber.
How often should tap components be replaced in Dubai's climate?
There is no fixed schedule, as replacement frequency depends on tap quality, usage, and local water conditions. However, in Dubai's hot climate and due to the high mineral content in the water, rubber components like washers and O-rings tend to degrade faster than in more temperate climates. A good rule of thumb is to inspect them every 2-3 years.
If you notice the tap handle becoming stiff or hearing squeaking noises, it's a good indicator that the internal parts are wearing out and could benefit from proactive replacement. Including a plumbing check as part of an annual maintenance contract (AMC) is an excellent way to catch these issues early and prevent inconvenient leaks before they start.
Conclusion
Mastering how to fix a leaking tap in Dubai is a valuable skill that can save you money and conserve water. By following the steps outlined in this guide, from identifying the cause to carefully reassembling the faucet, you can confidently tackle most common drips. The key is to work patiently, use the right tools, and ensure the water supply is off before you begin.
Remember that the most frequent culprits are simple parts like worn-out washers and O-rings, which are inexpensive to replace. However, it's equally important to recognize when a problem, such as a corroded valve seat or high water pressure, is beyond a simple DIY fix. Knowing your limits and when to call for professional help is the smartest move to prevent a small problem from becoming a large, expensive one.
If you've tried a repair and the drip persists, or if you'd rather save yourself the time and hassle, our team of certified handymen is here to help. We provide fast, reliable, and transparently priced services across all Dubai communities. Don't let a dripping tap disrupt your peace or inflate your bills. Book a Service Now and let our experts handle it for you.
Need certified on-demand property maintenance in Dubai?
Sub-4 hour response SLA • 30-day labor warranty • Upfront pricing from AED 180.