
Assembling IKEA Furniture in Dubai: A 2026 Handyman's Guide
Learn how to assemble IKEA furniture in Dubai with our 2026 handyman guide. Follow step by step instructions and pro tips for a stress free build.
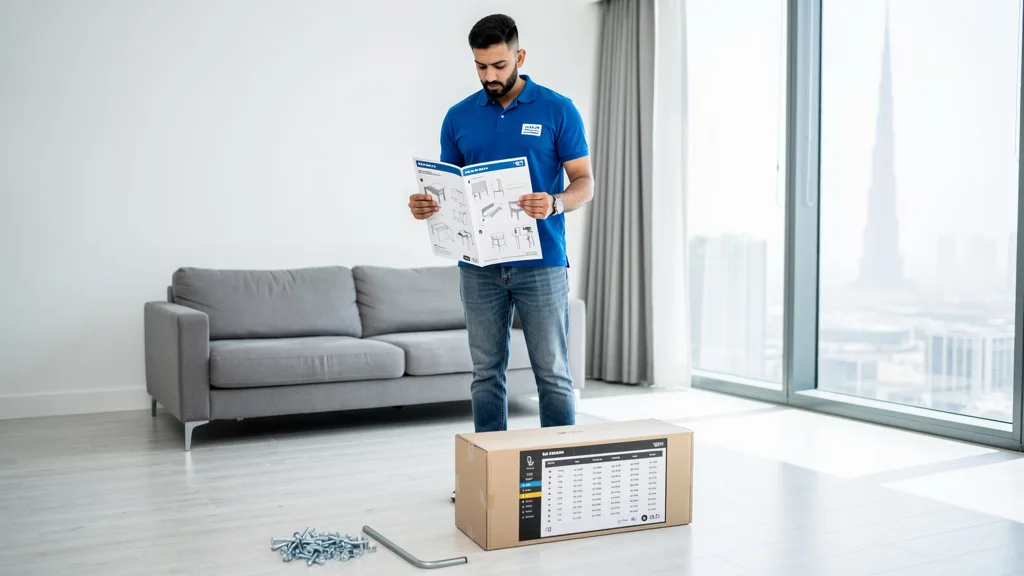
Have you ever stood over a flat-pack box, staring at a sea of screws and panels, and wondered if you'll ever conquer the challenge ahead? Assembling IKEA furniture can feel like a rite of passage, but it doesn't have to be a frustrating experience. With the right preparation and a clear plan, you can build your new furniture with confidence and precision, just like a professional handyman would.
Successfully assembling IKEA furniture involves three key stages: preparing your space and parts, carefully following the pictogram instructions step-by-step, and performing final checks to ensure stability. The process requires patience and attention to detail. For larger or more complex items, or to simply save time and ensure a perfect finish, hiring a professional assembly service in Dubai is an excellent alternative.
Before You Start: Essential Preparation for Assembly
Proper preparation is the most critical step to a smooth and successful assembly process. Rushing to build without organizing first is the number one cause of mistakes, frustration, and wasted time. Taking just 30 minutes to prepare your environment and components will save you hours of potential headaches later on.
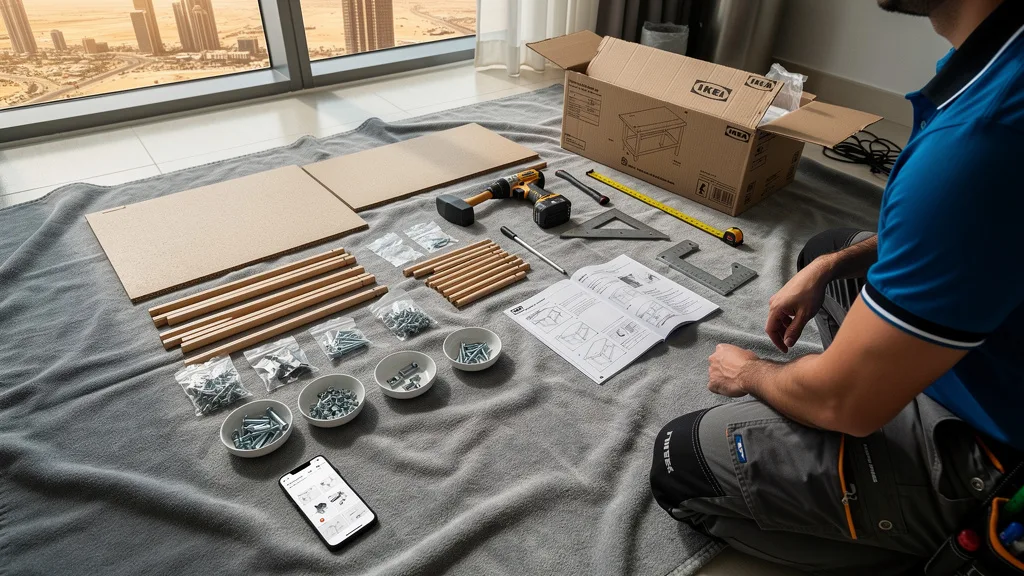
Think of this stage as setting up your workshop. A clean, organized space not only makes the process more efficient but also safer. It prevents you from losing small but crucial pieces of hardware and protects both your new furniture and your home's flooring from accidental damage.
Unpack and Organize All Parts and Hardware
Before you touch a single tool, open all the boxes and lay out every component. Group similar items together: all the large panels in one area, smaller pieces like drawer fronts in another, and all hardware in a separate container. Cross-reference every item with the parts list in the first few pages of the instruction manual. This ensures you have everything you need before you begin.
Many IKEA hardware bags contain multiple types of screws, dowels, and cam locks. It's highly beneficial to sort these into small bowls or a compartmentalized tray. This simple act of organization prevents you from using the wrong screw at a critical step, which could damage the particleboard and compromise the furniture's integrity.
Gather the Right Tools for the Job
While IKEA famously includes a small Allen key with most products, relying on it alone can make the job tedious and physically demanding. Having a few basic tools on hand will significantly speed up the process and improve the final result. A quality Phillips head screwdriver, a flathead screwdriver, a rubber mallet for gently tapping pieces into place, and a tape measure are essential.
For more advanced builders, a cordless screwdriver or drill with an adjustable torque setting can be a game-changer. However, be extremely cautious. Set the torque to a very low level to avoid overtightening screws, which can easily strip the particleboard. Never use an impact driver, as its power is far too great for this type of furniture.
Clear a Spacious and Safe Workspace
Assembling furniture always takes up more space than you anticipate. Clear a large area on the floor, preferably in the room where the furniture will ultimately live. This prevents the difficult task of trying to move a heavy, fully assembled wardrobe or bed frame through narrow doorways. Ensure the area is well-lit so you can easily read the instructions and see small details.
It's also crucial to protect your floors. Lay down a blanket, a flattened cardboard box from the packaging, or a rug to prevent scratches on your hardwood, tile, or laminate flooring. This also provides a softer surface for the furniture components, reducing the risk of scuffing or chipping them during assembly.
How to Assemble IKEA Furniture: A Step-by-Step Guide
With your parts organized and tools at the ready, you can begin the assembly. The key to success is to work methodically and patiently, treating the process as a puzzle rather than a race. Each step builds upon the last, so ensuring each connection is correct is paramount for a sturdy and long-lasting piece of furniture.
"The most common mistake we see is people rushing and tightening all screws fully from the start. We advise leaving connections slightly loose until a section is complete, then tightening everything at once. This allows for minor adjustments and ensures the final piece is perfectly square and stable." - Dubai Professional Handyman
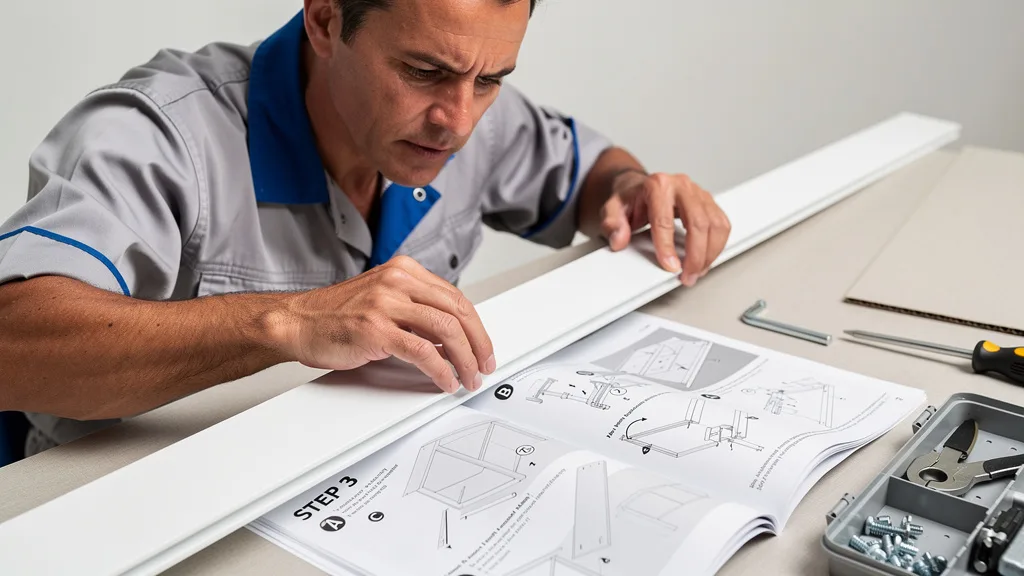
Step 1: Carefully Interpret the Pictogram Instructions
IKEA's wordless instructions are universally recognized but can be confusing if you don't pay close attention. Study each diagram carefully before you act. Pay special attention to the orientation of each panel, indicated by the location of pre-drilled holes. A tiny detail, like which way a finished edge is facing, can determine whether a piece fits correctly two steps later.
Look for the 'magnifying glass' icons that highlight critical details and the 'X' marks that show incorrect actions. If you're a visual learner, searching for online videos can be helpful. Many people post detailed assembly guides, and you can find a wealth of resources like Ikea Furniture Assembly Tutorials For Beginners on social media platforms that can clarify a confusing step.
Step 2: Build the Main Frame and Structure
The assembly process almost always begins with constructing the main frame or carcass of the furniture. This involves connecting the largest panels: the sides, top, bottom, and back. This is often the most challenging part and may require a second person to help hold large, heavy pieces steady while you secure them.
Follow the sequence exactly as shown. Attach cam locks and screws as indicated, but consider leaving them about a quarter-turn loose until the entire frame is together. Once the main box is formed, check that it is square before fully tightening all the connections. For items like bookshelves and wardrobes, attaching the thin back panel is what provides most of the structural rigidity, so ensure it is nailed in evenly and squarely.
Step 3: Attach Doors, Drawers, and Shelving
Once the main structure is solid, you can move on to the internal components and finishing touches. This includes building drawers, attaching door hinges, and inserting shelf pins. Drawer assembly is often repetitive, so it's a good task to do in a batch if you have multiple drawers.
Hanging doors can be tricky. Attach the hinges to the doors first, then mount them to the frame. Most IKEA hinges are adjustable in three directions (up/down, left/right, and in/out). Use these adjustment screws to get the doors perfectly aligned with even gaps all around. This final alignment is what gives the furniture a professional, high-quality look.
Step 4: Perform Final Checks and Adjustments
Before you start loading your new furniture, give it a thorough final inspection. Gently push on the unit to check for any wobbling. If it's unstable, go back and check that all screws are fully tightened. For tall items like bookcases or wardrobes, it is absolutely essential to use the included wall anchoring hardware to prevent a dangerous tip-over accident, especially in homes with children.
Open and close all doors and drawers to ensure they operate smoothly. Make any final hinge adjustments as needed. Wipe down the entire piece with a soft, damp cloth to remove any fingerprints and dust from the assembly process. Now, you can step back and admire your handiwork.
DIY Assembly vs. Hiring a Professional Handyman in Dubai
While many people enjoy the satisfaction of a successful DIY project, it's not the right choice for everyone. Understanding the trade-offs between assembling the furniture yourself and hiring a professional can help you make the best decision for your situation in Dubai.
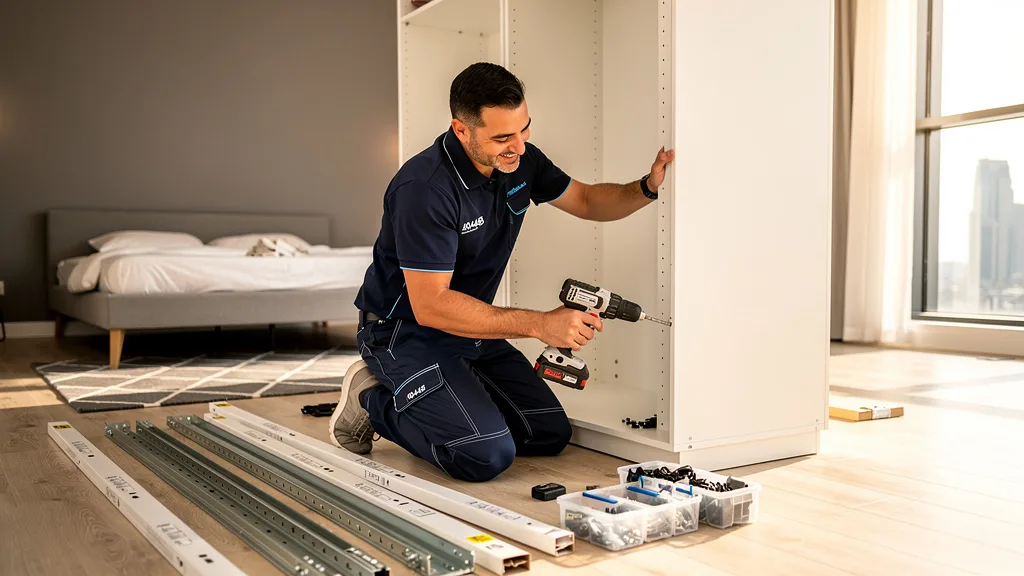
The choice often comes down to a balance of cost, time, and complexity. A simple LACK side table is a quick DIY job, but a multi-door PAX wardrobe system with interior fittings can be a complex, multi-day project that is often best left to the experts.
| Factor | DIY Assembly | Professional Handyman Service |
|---|---|---|
| Cost | Free (your time is the cost) | Fixed or hourly rate; transparent upfront pricing |
| Time | Can take several hours to a full day, depending on complexity | Significantly faster due to experience and proper tools |
| Effort & Stress | High; can be physically demanding and mentally frustrating | Zero; the service handles all lifting, building, and cleanup |
| Tools | You must provide your own tools beyond the basic Allen key | Technicians arrive with a full set of professional tools |
| Final Quality | Variable; risk of wobbly furniture or misaligned doors | Guaranteed stable, square, and perfectly aligned build |
| Warranty | None; if you break a part, you must replace it yourself | Often includes a labor warranty for peace of mind |
The Cost and Effort of DIY Assembly
The most obvious benefit of DIY is that it's free, but this ignores the hidden costs. Your time is valuable, and what might take a professional one hour could take you four. This is especially true for those unfamiliar with the process. There's also the physical effort of carrying heavy boxes, kneeling on the floor for hours, and the mental strain of deciphering complex instructions.
Furthermore, there is a risk of making a mistake that damages a component. A stripped screw hole or a cracked panel can compromise the entire piece of furniture, leading to additional costs and delays in getting a replacement part from IKEA. For many, the potential savings are not worth the stress and risk involved.
Benefits of Using a Professional Assembly Service
Hiring a professional handyman service transforms the experience. A skilled technician arrives with all the necessary tools and the experience of having built hundreds of similar items. They work quickly and efficiently, often completing in a fraction of the time it would take a novice. You can find more details by exploring a standard handyman call-out vs. custom job to see what's typically included.
Beyond speed, the biggest benefit is the quality of the build. Professionals know how to ensure every joint is secure, every door is perfectly aligned, and the final product is stable and safe. Our services come with a 30-day labor warranty, giving you complete peace of mind that the job is done right.
When to Call in the Experts for Help
You should strongly consider hiring a professional for several scenarios. If you've purchased a large, complex item like a PAX wardrobe system, a BESTÅ media unit, or a kitchen installation, professional help is almost always worth it. Similarly, if you've bought multiple pieces of furniture at once, a handyman can assemble everything in a single visit, saving you an entire weekend of work.
Finally, if you simply value your time and want to avoid the hassle, calling an expert is the smartest choice. You can leave for work in the morning and come home to a beautifully assembled piece of furniture, with all the packaging neatly cleared away. It's the most convenient and stress-free way to furnish your home in Dubai.
Pro Tips for a Flawless IKEA Furniture Assembly
Even if you decide to take on the assembly yourself, there are several tricks of the trade that can help you achieve a more professional result. These small tips, gathered from experienced handymen, can make a big difference in the sturdiness and longevity of your furniture. You can find many similar suggestions in guides that offer 7 TIPS FОR ASSEMBLING IKEA FURNITURE online.
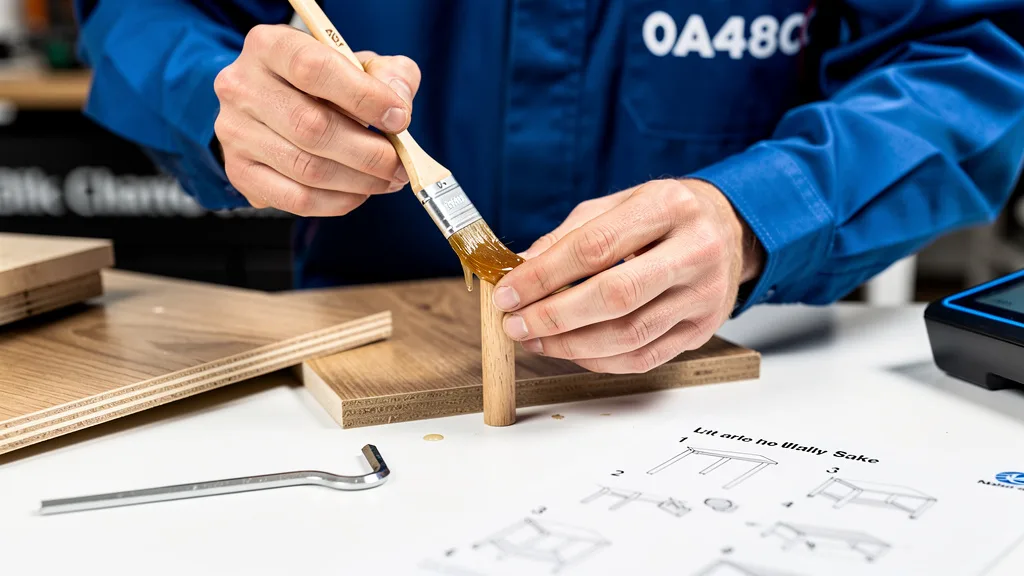
These techniques focus on enhancing stability and preventing common mistakes that can lead to wobbly shelves or misaligned drawers. Incorporating them into your workflow will elevate your assembly skills from amateur to expert.
Use Wood Glue for Added Stability
This is a professional's secret weapon. While not mentioned in the IKEA instructions, applying a small dab of standard wood glue into the holes for wooden dowels before you insert them dramatically increases the rigidity and durability of the finished piece. The glue creates a permanent bond that prevents joints from loosening over time, especially on items that see a lot of use, like chairs and tables.
Be sure to use glue sparingly to avoid messy squeeze-out. A small drop is all you need. Wipe away any excess immediately with a damp cloth before it dries. Do not use glue on any metal hardware like screws or cam locks, as you may need to disassemble the furniture one day.
Protect Your Floors from Scratches
This tip is about preparation but is worth repeating. Always assemble furniture on a soft surface. The large cardboard boxes the furniture comes in are perfect for this. Lay them flat to create a large, protective mat. This not only saves your floors from scratches but also prevents the furniture's laminate finish from getting damaged during the build.
Once the item is assembled, consider adding felt pads to the bottom of the legs or base. This is especially important for chairs, tables, and anything else that will be moved frequently across a hard floor surface like tile or wood. It's a small, inexpensive step that protects your investment in both your furniture and your flooring.
Take Your Time and Avoid Rushing the Process
Patience is perhaps the most important tool you can have. Rushing leads to mistakes. If you feel yourself getting frustrated, take a break. Step away for 15 minutes, get a glass of water, and come back with a fresh perspective. It's far better to take an extra hour to build something correctly than to rush and have to disassemble it to fix a mistake.
Double-check each step before moving on to the next. A common error is installing a panel backward or upside down, which you may not discover until several steps later. Holding the piece up to the diagram and confirming the hole patterns match can save you a significant amount of rework and frustration.
Key Takeaways
Mastering how to assemble IKEA furniture in Dubai is achievable with the right approach. This guide provides a framework for success, whether you choose the DIY route or opt for professional assistance. Remember that preparation is half the battle, and patience is your most valuable tool.
- Preparation is Key: Always start by unpacking, organizing, and checking all parts against the manual. Clear a large, protected workspace before you begin.
- Follow Instructions Meticulously: Pay close attention to the details in the pictogram instructions, especially panel orientation and hardware specifics. Work step-by-step and do not rush.
- Use Pro Techniques: For a sturdier build, use a small amount of wood glue on dowels. Protect your floors and take your time to avoid common mistakes.
- Know When to Call a Pro: For large, complex items like PAX wardrobes, or if you are short on time, hiring a professional handyman service in Dubai is the most efficient and stress-free option.
- Safety First: Always use the included wall anchors for tall or heavy furniture to prevent dangerous tip-over accidents. This is a non-negotiable safety step.
Frequently Asked Questions
What is the hardest piece of IKEA furniture to assemble?
Generally, the most difficult items are large, multi-component systems like the PAX wardrobes with sliding doors and interior organizers, or complete kitchen cabinet installations. The complexity comes from the sheer number of parts, the need for perfect alignment over a large area, and the weight of the components, which often requires two people.
Beds with integrated storage drawers and complex TV media units like the BESTÅ system can also be challenging due to their many moving parts and precise assembly requirements. Anything involving drawers and doors requires patience for proper alignment.
How long does it typically take to assemble IKEA furniture?
The time required varies widely based on the item's complexity and your experience. A small side table might take 30 minutes, a chest of drawers could take 2-3 hours, and a large wardrobe could take 4-8 hours or more for a novice. A professional handyman can often complete these tasks in about one-third of the time.
Always check online forums or product reviews for a specific item, as users often share their assembly time experiences. It's wise to budget more time than you think you'll need to avoid feeling rushed.
Can I assemble most IKEA items by myself?
You can assemble many smaller IKEA items by yourself, such as small tables, chairs, and simple bookshelves. However, the instructions for larger pieces like beds, dining tables, and wardrobes will explicitly show an icon of two people, indicating that you will need assistance for safety and ease of handling.
Attempting to build a large item alone is not recommended. It increases the risk of dropping and damaging a part, or even injuring yourself. It's much safer and easier to ask a friend for help or to hire a professional service.
What should I do if a part is missing or damaged?
First, double-check all the packaging, as small hardware can sometimes get stuck in the cardboard. If a part is truly missing or you discover it's damaged, you can visit the customer service department at your local IKEA store in Dubai. Bring your receipt and the assembly manual with the part number circled.
IKEA is generally very good about providing replacement parts free of charge. You can also contact their customer support hotline, but visiting the store is often the quickest way to resolve the issue and get the part you need to finish your project.
Is it worth paying for professional IKEA assembly in Dubai?
For many people in Dubai, it is absolutely worth it. While there is an upfront cost, you are paying for speed, convenience, and a guaranteed high-quality result. It saves you valuable time and eliminates the stress and potential frustration of a complex DIY project. You can review a consolidated home maintenance pricing guide to understand the costs.
If the item is large, complex, or if you've purchased multiple pieces, the value of a professional service increases significantly. It ensures your new furniture is built safely and correctly, with a labor warranty for peace of mind.
Conclusion
Assembling your new IKEA furniture in Dubai can be a rewarding project when approached with a clear strategy. By dedicating time to preparation, carefully following the visual instructions, and using a few pro tips like wood glue for stability, you can achieve a great result. However, for larger projects or when time is of the essence, the value of a professional handyman cannot be overstated, ensuring a fast, flawless, and stress-free build.
If you've decided the DIY path isn't for you, or if you want to guarantee your new furniture is assembled to the highest standard, our team is here to help. Our certified and experienced technicians can handle any assembly job, big or small, with transparent pricing and a 30-day warranty. Let us do the hard work so you can simply enjoy your new furniture. Book a Service Now and have your home set up perfectly.
Need certified on-demand property maintenance in Dubai?
Sub-4 hour response SLA • 30-day labor warranty • Upfront pricing from AED 180.